Simple Oracle 11g Rac setup
In this article I will show you how to perform a basic installation of Oracle RAC 11R2 on Linux 6 using Virtual Box. The cluster we will build will consist of two nodes using ASM as shared storage.
Here are the details of each virtual node:
Here are the details of each virtual node:
| Node1 | Node2 |
| Name: oralab1 Hostname: oralab1.localdomain Ram: 3Gb Nics: Eth0: 192.168.1.151 #Public IP Eth1: 192.168.2.152 #Private IP OS: Oracle Linux 6.3 x86_64 euk Disks: 1 x 50GB root FS | Name: oralab2 Hostname:oralab2.localdomain Ram: 3Gb Nics: Eth0: 192.168.1.156 #Public IP Eth1: 192.168.2.157 #Private IP OS: Oracle Linux 6.3 x86_64 euk Disks: 1 x 50 GB root FS |
Shared resources:
- Shared Disks: 5 disks of 3 GB
- Scan IPs: 192.168.1.160, 192.168.1.161, 192.168.1.162
- Scan Name: oralab-cluster
Important notes:
- The following installation only serves as a demonstration.
- The host machine must have at least 8GB of RAM and at least 150GB of disk space for root disks and ASM shared disks.
- For the installation of this version it is necessary that the 3 addresses of the SCAN are resolved by the oralab-cluster name. For this it is necessary to add them to the DNS alias in round robin mode. The DNS configuration will not be in this tutorial.
- They must synchronize the virtual machines with an NTP server. Oracle recommends that the cluster nodes be synchronized via NTP with a special configuration.
- The software used throughout the installation will be the latest versions of the same.
- We will use the oracle-rdbms-server-11gr2-preinstall package for the basic installation settings.
The installation will be carried out in the following order:
- Download the necessary software.
- Creation of the first virtual machine (Node 1).
- Installing the operating system.
- Oracle Clusterware Preinstallation Tasks.
- Creation of the second virtual machine (Node 2)
- Installing Oracle Clusterware.
- Installing the Database Software.
- Creation of the RAC database.
Let's start !!
Download the installation media of each of the required software.
- Oracle VM virtual Box 4 .
- Oracle Enterprise Linux 6.3 .
- Oracle Clusterware 11g R2 .
- Oracle Database 11g R2 .
Note: For this tutorial I will be using versions 11.2.0.3 of Oracle clusterware and database, this tutorial is similar for version 11.2.0.1 (2).
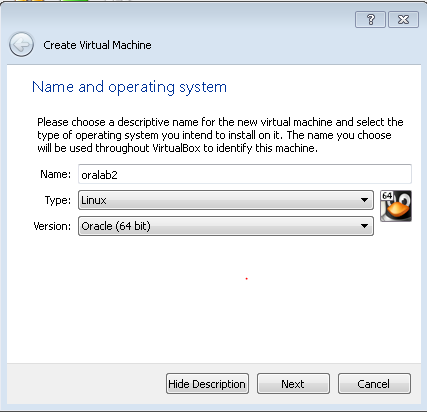
Once the required average is downloaded, we proceed to create our first virtual machine, which will be our node1 as follows.
In the Virtual Box Manager select new virtual machine to start the creation.
Select the amount of memory.

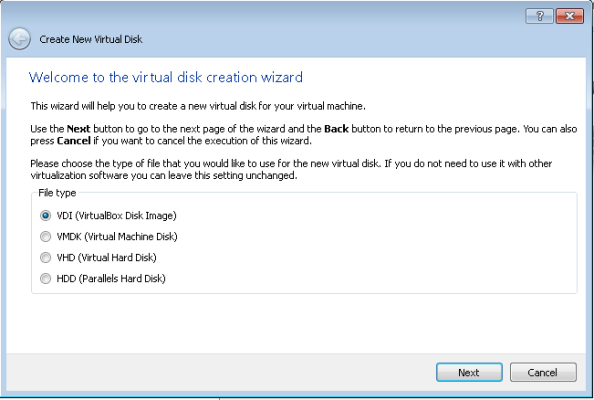
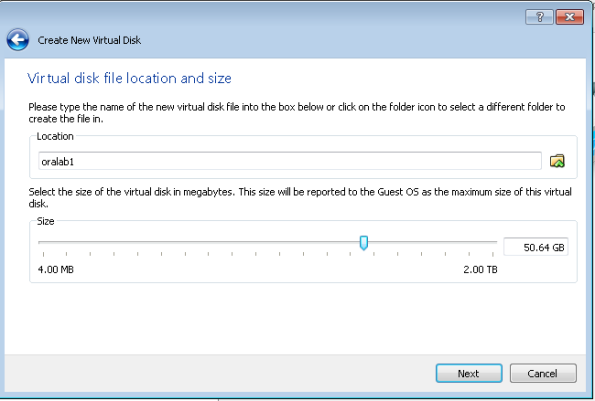
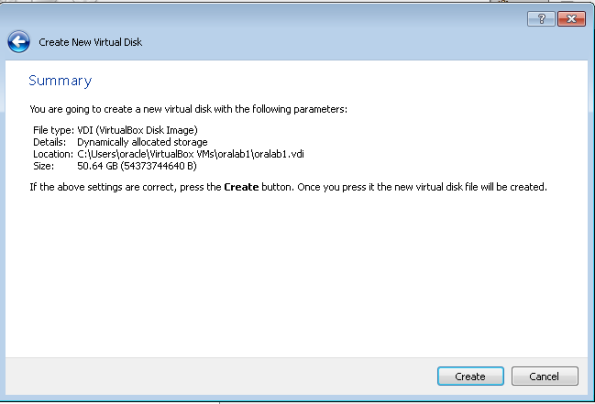
Create the disk for our VM. You can create it by following the screens.


Once our first VM is created, we proceed to edit the properties and add a second network interface in bridged mode.

Note: Interface: Adapter 1 must also be in briged mode.
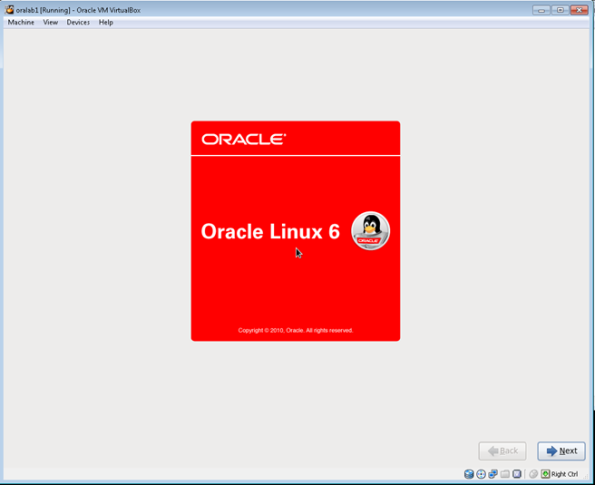
We started our virtual machine with the average of Oracle Linux and started the installation.

Once I loaded anaconda installer, we clicked Next to start our installation.
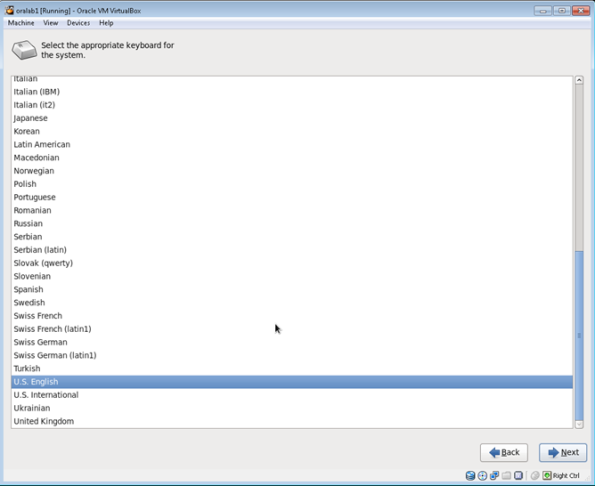
We select the language of the system and the keyboard.

We select our type of storage

Click on delete the entire date.

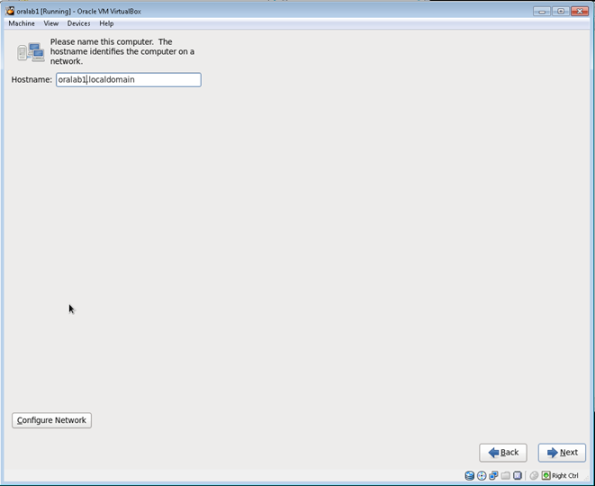
We put our hostname.
We select our TimeZone.

We create the root password

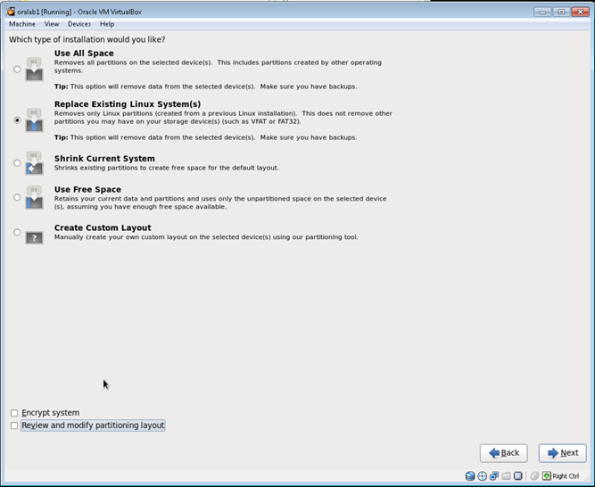
We select the Replace existing Linux system option and continue
In this screen it gives us to choose the type of installation of wanted according to the role of server. I particularly like to select the components I want, so we will select Curstomize now at the bottom of the screen.

In the next screen we select the packages of desire, for this installation we will select the following ones:
Server / system administration tools / oracle-RDBMS-server-11gR2-preinstall
server / system administration tools / oracleasm-support
Desktops / desktop
Desktop / Desktop DEBUGIN and performace tools
Desktops / Desktop platform
Desktops / General Purpose Desktop
Desktops / Grafical Administration tools
Desktops / X window system
Application / Internet Browser
server / system administration tools / oracleasm-support
Desktops / desktop
Desktop / Desktop DEBUGIN and performace tools
Desktops / Desktop platform
Desktops / General Purpose Desktop
Desktops / Grafical Administration tools
Desktops / X window system
Application / Internet Browser

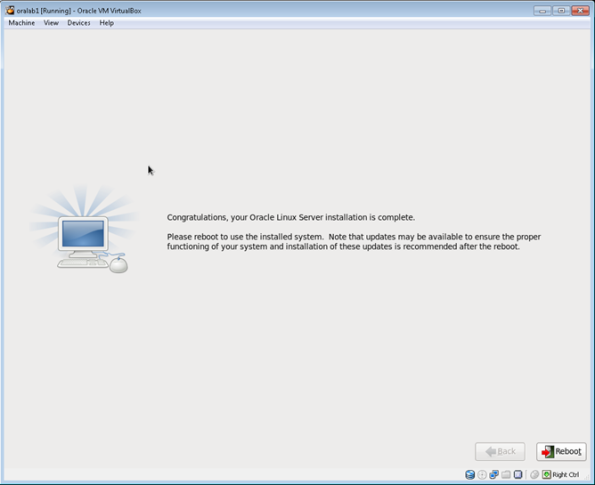
Clicking Next will start the installation.

When finished we click on Reboot to complete.
Once the server is started, we follow the installation as shown in the following screens.


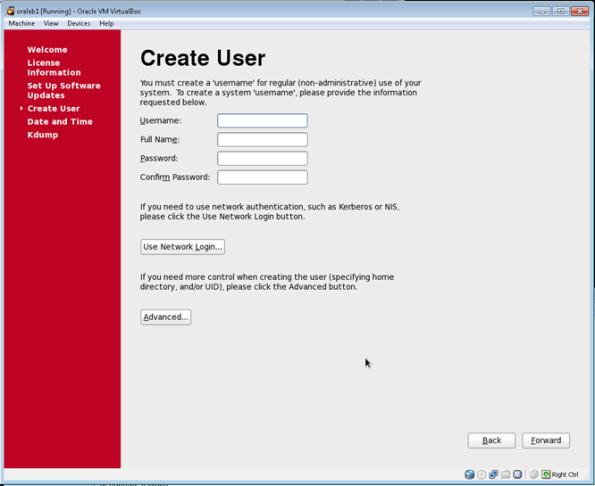
In the next screen do not create user, those that we will need we will be creating them later.
On the next screen, enter the address of your NTP server.

Completed all the above will have the login of our server. You must login with the root account.

We start the session with the root user, all the following steps are done with this user.
It is important to highlight the following points when configuring the interfaces for the cluster:
- The eth0 public interface must be on a different subnet than the eth1 private interface.
- the public and private interfaces must be the same on both nodes.
- The SCAN addresses must be resolved by all cluster nodes via DNS by the oralab-cluster name.
- The SCAN addresses must be on the same subnet as the published interface.
With the previous points in clear, proceed to configure each interface with the following values
Interface: eth0
IP: 192.168.1.151
Netmask: 255.255.255.0
Gateway: 192.168.1.1
IP: 192.168.1.151
Netmask: 255.255.255.0
Gateway: 192.168.1.1

Interface: eth1
IP: 192.168.2.152
Netmask: 255.255.255.0
Gateway: 0.0.0.0
IP: 192.168.2.152
Netmask: 255.255.255.0
Gateway: 0.0.0.0

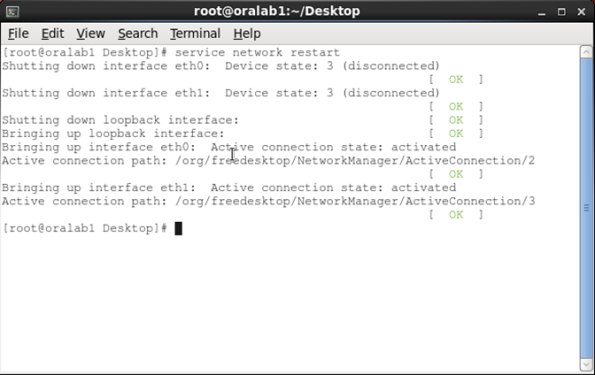
Restart network services
service network reload

For the following steps I will be using the Putty (just for convenience).
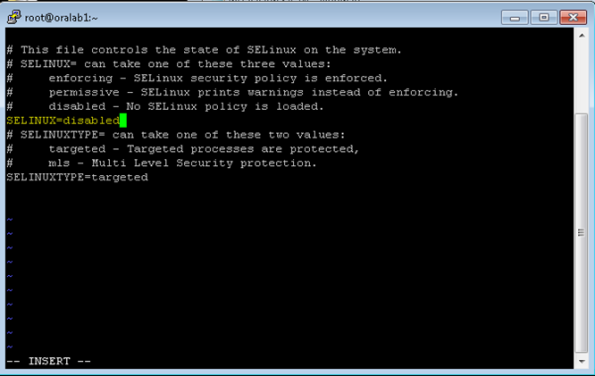
We disable Linux Security by editing the / etc / sysconfig / selinux file and add disable as a sample.
vi / etc / sysconfig / selinux
We will create the necessary users and groups.
groupadd asadmin
groupadd asmoper
groupadd asmdba
useradd -g oinstall -G asmadmin, asmdba, dba, asmoper grid
usermod -g oinstall -G asmdba, dba oracle
passwd grid
passwd oracle

We create the necessary directories and assign the permissions
mkdir -p / u01 / app / grid
mkdir -p /u01/app/11.2.3/grid
mkdir -p /u01/app/oracle/product/11.2.3/db1
chown -R grid: oinstall / u01 / app
chown -R oracle: oinstall / u01 / app / oracle
chmod 775 / u01 / app

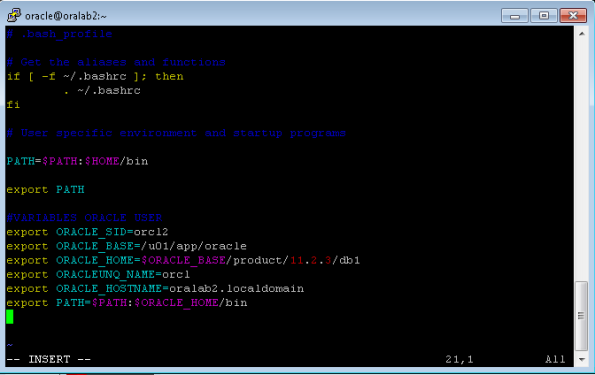
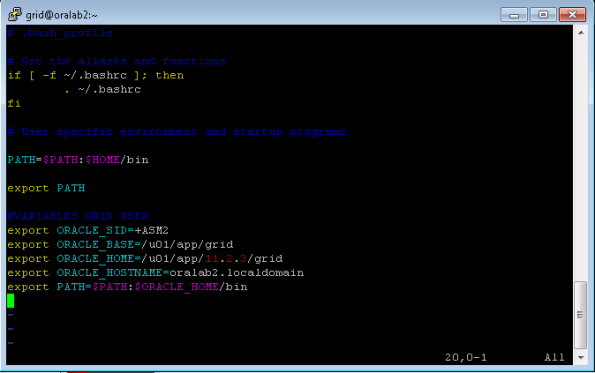
We edit the profiles of the users oracle and grid with the following values.
#VARIABLES ORACLE USERexport ORACLE_SID = orcl1
export ORACLE_BASE = / u01 / app / oracle
export ORACLE_HOME = $ ORACLE_BASE / product / 11.2.3 / db1
export ORACLEUNQ_NAME = orcl1
export ORACLE_HOSTNAME = oralab1.localdomain
export PATH = $ PATH: $ ORACLE_HOME / bin

#VARIABLES GRID USER
export ORACLE_SID = + ASM1
export ORACLE_BASE = / u01 / app / grid
export ORACLE_HOME = / u01 / app / 11.2.3 / grid
export ORACLEUNQ_NAME = + ASM1
export ORACLE_HOSTNAME = oralab1.localdomain
export PATH = $ PATH: $ ORACLE_HOME bin

We edit the host file with the following values.
vi / etc / hosts#ip PUBLICAS
192.168.1.151 oralab1.localdomain oralab1 # eth0
192.168.1.156 oralab2.localdomain oralab2
#ip DEPRIVED
192.168.2.152 oralab1-priv.localdomain oralab1-priv # eth1
192.168.2.157 oralab2-priv.localdomain oralab2-priv
#ip VIRTUALES
192.168 .1.153 oralab1-vip.localdomain oralab1-vip
192.168.1.158 oralab2-vip.localdomain oralab2-vip

We edit the / etc / sysconfig / ntpd file and add the x flag
vi / etc / sysconfig / ntpd

We restart our ntp

Edit user limits add the following values
grid soft nofile 1024
grid hard nofile 65536
grid soft nproc 2047
grid hard nproc 16384
grid soft stack 10240
grid hard stack 32768
grid hard nofile 65536
grid soft nproc 2047
grid hard nproc 16384
grid soft stack 10240
grid hard stack 32768
vi / etc / security / limits.conf

We turn off our virtual machine and proceed to create the disks that will be used by ASM. In total we will create 5 discs of about 3GB in size.
You can create them by running the following statements on the host machine.
VBoxManage createhd -filename oralab11.vdi -size 3072 -format VDI -variant Fixed
VBoxManage createhd -filename oralab12.vdi -size 3072 -format VDI -variant Fixed
VBoxManage createhd -filename oralab13.vdi -size 3072 -format VDI -variant Fixed
VBoxManage createhd -filename oralab14.vdi -size 3072 -format VDI -variant Fixed
VBoxManage createhd -filename oralab15.vdi -size 3072 -format VDI -variant FixedVBoxManage storageattach oralab1 -storagectl "SATA Controller" -port 1 -device 0 -type hdd -medium oralab11.vdi -mtype shareable
VBoxManage storageattach oralab1 -storagectl "SATA Controller" -port 2 -device 0 -type hdd -medium oralab12.vdi - mtype shareable
VBoxManage storageattach oralab1 -storagectl "SATA Controller" -port 3 -device 0 -type hdd -medium oralab13.vdi -mtype shareable
VBoxManage storageattach oralab1 -storagectl "SATA Controller" -port 4 -device 0 -type hdd -medium oralab14. vdi -mtype shareable
VBoxManage storageattach oralab1 -storagectl "SATA Controller" -port 5 -device 0 -type hdd -medium oralab15.vdi -mtype shareableVBoxManage modifyhd oralab11.vdi -type shareable
VBoxManage modifyhd oralab12.vdi -type shareable
VBoxManage modifyhd oralab13.vdi -type shareable
VBoxManage modifyhd oralab14.vdi -type shareable
VBoxManage modifyhd oralab15.vdi -type shareable
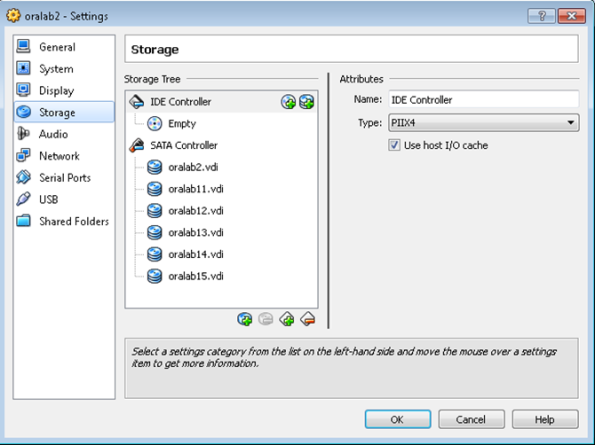
Once created and attached to the VM will look like this

We start our VM and partition each of the disks. For this we execute the following.
fdisk / dev / sdb
options n, p, 1,1, wfdisk / dev / sdc
options n, p, 1,1, wfdisk / dev / sdd
options n, p, 1,1, wfdisk / dev / sde
options n, p, 1,1, wfdisk / dev / sdf
options n, p, 1,1, w
More or less it would look like this

After partitioning the disks we execute a ls / dev / sd * to verify the correct creation of the partitions

It's time to configure asmlib and create ASM disks. Run the following
/etc/init.d/oracleasm configure
And respond according to the following screen

Create the disks with the following commands
oracleasm createdisk disk1 / dev / sdb1
oracleasm createdisk disk2 / dev / sdc1
oracleasm createdisk disk3 / dev / sdd1
oracleasm createdisk disk4 / dev / sde1
oracleasm createdisk disk5 / dev / sdf1

Verify creation
oracleasm listdisks

So far we are ready with the pre-installation of clusterware on node1. What follows is to create our second virtual machine which will be our second node.
To simplify the creation of our second node, we will proceed to clone the main disk of the oralab1 virtual machine and then create a new virtual machine with that disk.
To create the disk clone run the following statement on the host machine.
VBoxManage clonehd "oralab1.vdi" "oralab2.vdi"
Once the disk is cloned, we create the new virtual machine using it.


Once created, we add our second network interface.

Now we execute the following statements to cross out the shared disks.
VBoxManage storageattach oralab2 -storagectl "SATA Controller" -port 1 -device 0 -type hdd -medium oralab11.vdi -mtype shareable
VBoxManage storageattach oralab2 -storagectl "SATA Controller" -port 2 -device 0 -type hdd -medium oralab12.vdi - mtype shareable
VBoxManage storageattach oralab2 -storagectl "SATA Controller" -port 3 -device 0 -type hdd -medium oralab13.vdi -mtype shareable
VBoxManage storageattach oralab2 -storagectl "SATA Controller" -port 4 -device 0 -type hdd -medium oralab14. vdi -mtype shareable
VBoxManage storageattach oralab2 -storagectl "SATA Controller" -port 5 -device 0 -type hdd -medium oralab15.vdi -mtype shareable
They should look like this:
We start our second virtual machine and change our network interfaces as follows


Restart network services
We edit the user profiles as we did before taking into account the new values
We then verify that the disks are present on this node by executing the following command.
oracleasm listdisks
This should be seen

Turn on node1 and do the following tests
From node1
ping oralab2
ping oralab2-vip
ping oralab2-priv
From node2
ping oralab1
ping oralab1-vip
ping oralab1-priv
If all the pings respond we will be ready to proceed with the installation of the grid infrastructure.
When you decompress the clusterware mean, a folder called grid will be created. There we can start the installation by calling the runInstaller script.
Before starting the installation of Oracle Clusteware it is important to verify that all the prerequisites are fulfilled. With cluster verification utility we can verify not only the entire installation, but also individual components of the cluster.
To verify all the components of the cluster before starting the installation we only execute the following command from the root of the installation.
./ runcluvfy.sh stage -pre crsinst -n oralab1, oralab2
Note: There are other options that we can pass to cluvfy, which I just passed is enough.
Start the installer with the statement:
./runInstaller

Wait for it to load and continue

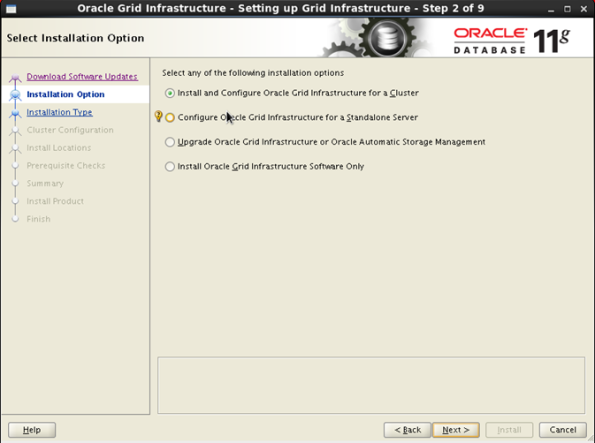
Select the type of installation for cluster
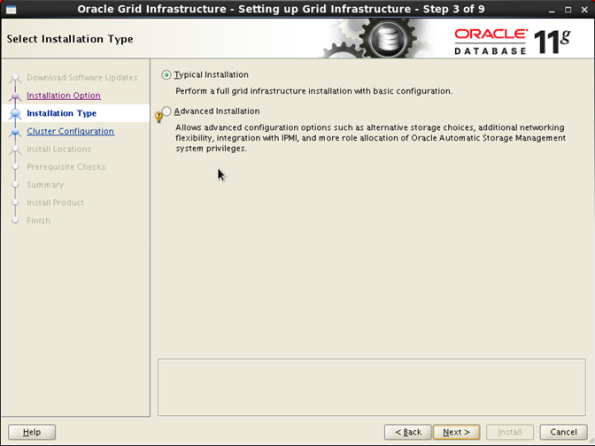
Select the type of installation typical
In the next screen we will have to edit certain things. The first thing is to add the nodes that will contain the cluster.
Click on add and enter the public and virtual addresses (VIP) of node 2


Once the secondary node is added, it is time to establish the trust relationships between both nodes.
Clicking on SSH Connectivity

Once we complete all the above we continue and enter the information of our storage.
Select ASM and enter the password that the ASM will have

In the next screen we will have to select the disks that will form the disk group that will house our Voting disk and OCR. We will create a diskgroup called DG_DATA with external redundancy.
You can create it as shown in the following screen

Note: If the disks do not appear initially, change the path of discovery path to / dev / oracleasm / disks
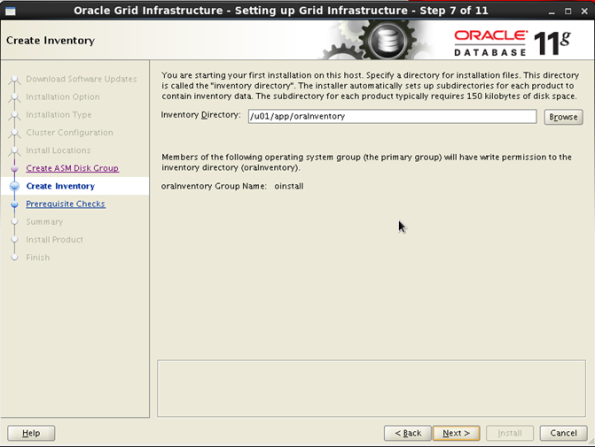
In the next screen we will see the route of the inventory
The next screen is run again cluvfy to identify possible faults

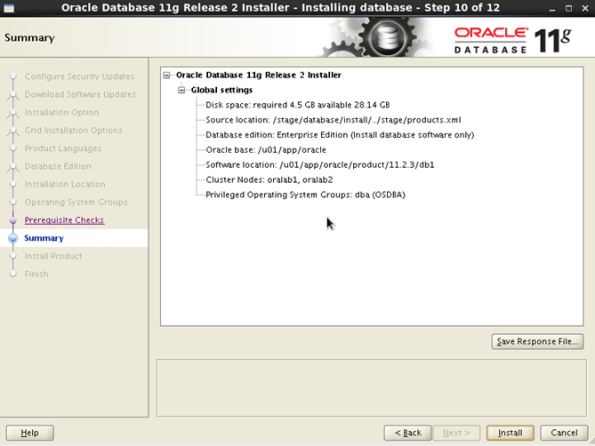
If everything is correct in the configuration you will see the summary of the installation.

When you click click install

Once certain tasks are completed, the installer will ask us to run some scripts on all the nodes that make up the cluster.
It would look something like this

It is important to preserve the order of execution. First run script 1 on node2 (oralab1) and then on node2 (oralab2), when you complete execute script 2 on node1 (oralab1) and then on node2. At the end of the execution of each of the nodes are seen screens as well
Node1

Node2
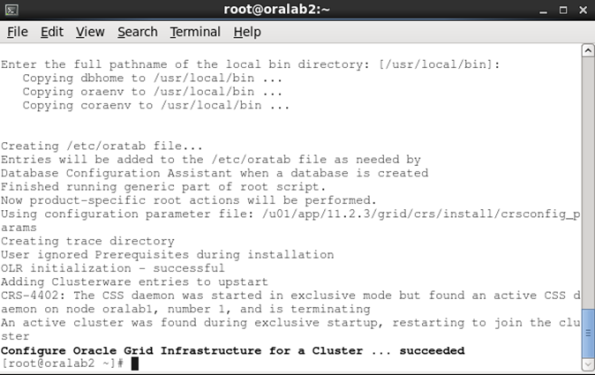
When you finish it looks something like this

We already have our cluster ready.
Check the status of all components running
crsctl status resource -t

As we see all the components are running, I mean ASM instances, listener, scan, etc.
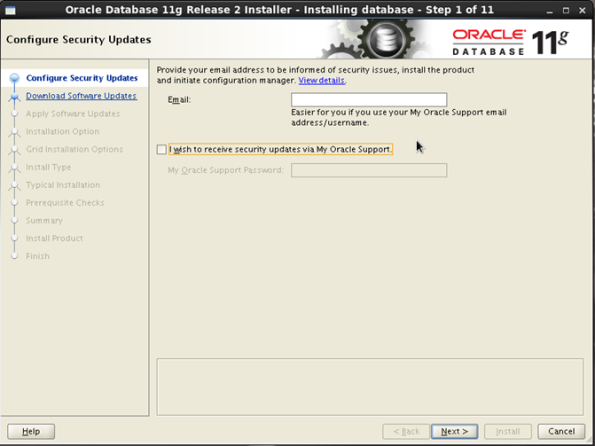
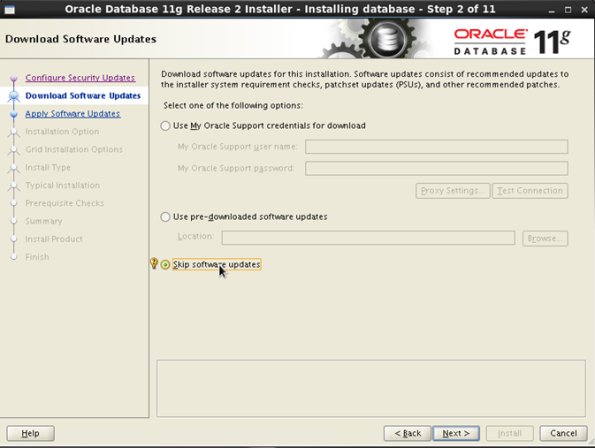
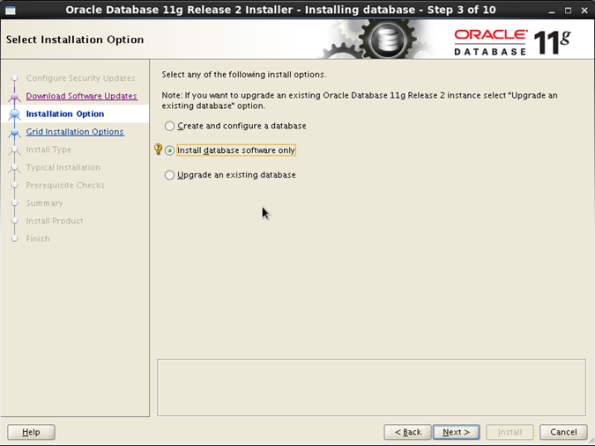
We will perform a software-only installation to then create our RAC database.
We will start unpacking the installation media

Once the files are unzipped we proceed to start the installer
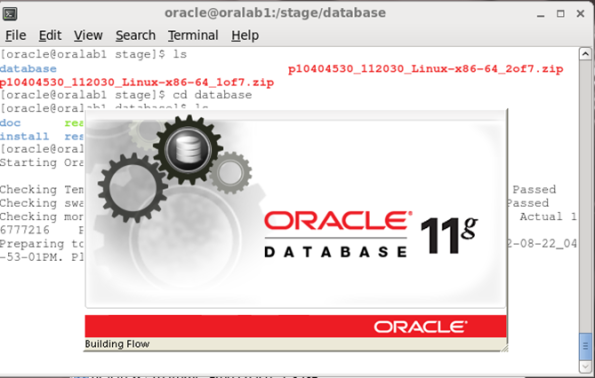
Follow the installation as shown on the screens


When you are completing the installation you will be prompted to execute a script on each node. Run them in indicated order

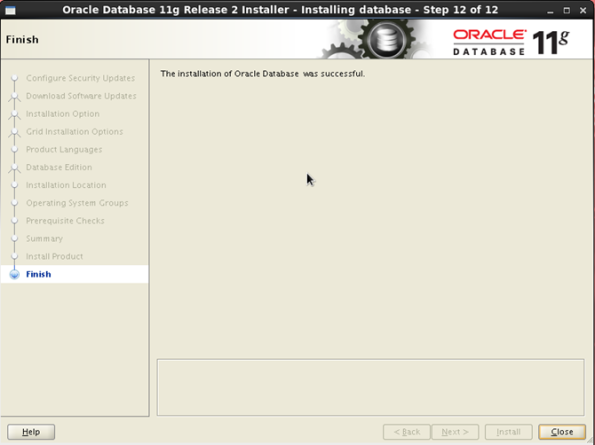
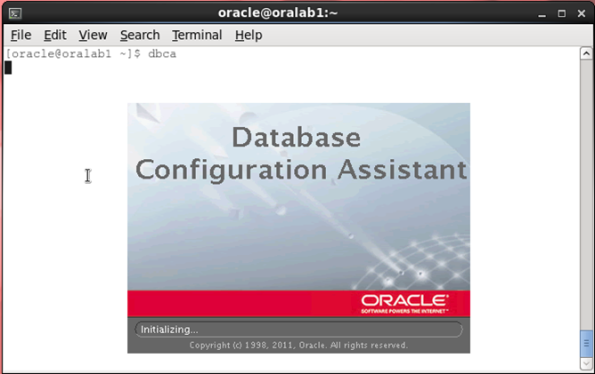
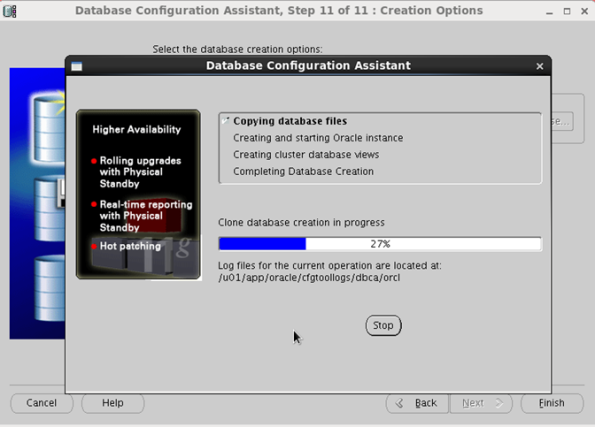
With the software installed, we proceed to create our rac database.
Let's call dbca
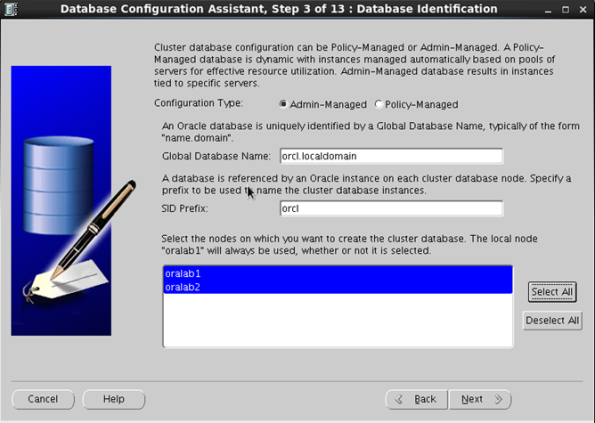
Select the type of database.


Select admin-managed and select the nodes of the cluster.

Select the password for the accounts.

For storage select the previously created diskgroup.

Setting the ASM password

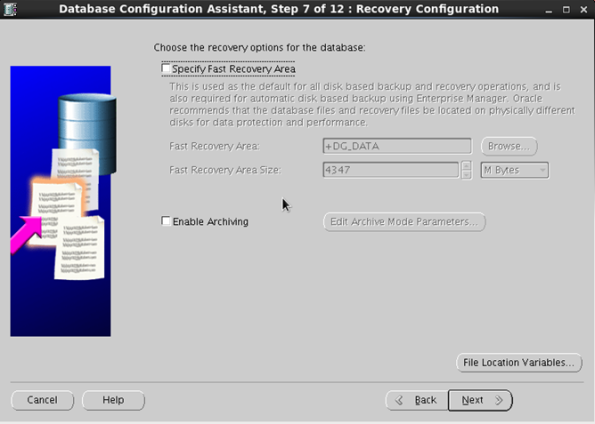
As this installation is demonstration we will not activate archiving nor the FRA.


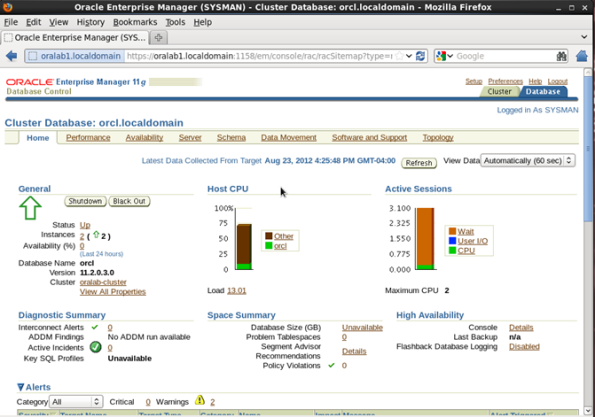
Review status and configuration
srvctl status database -d orcl
srvctl config database -d orcl

Now with the grid user.


Comments
Post a Comment